Make Use of Your New Instance
After your instance has been successfully created, you can now connect to it and start Isaac Sim.
Interact with Your Instance
There are several ways to work with your new instance. They are briefly introduced here; more detailed information can be found on the corresponding documentation pages.
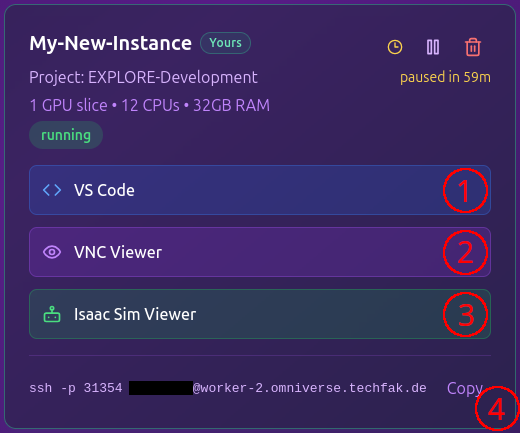
On your instance tile in the Instance Overview, you will find the following options (see image):
- VS Code in the web browser
- VNC Viewer (virtual desktop) in the web browser
- Isaac Sim Viewer in the web browser
- SSH access via the terminal
In the following section, we will start Isaac Sim on your instance and use the simulation environment via the Isaac Sim Viewer.
Start Isaac Sim
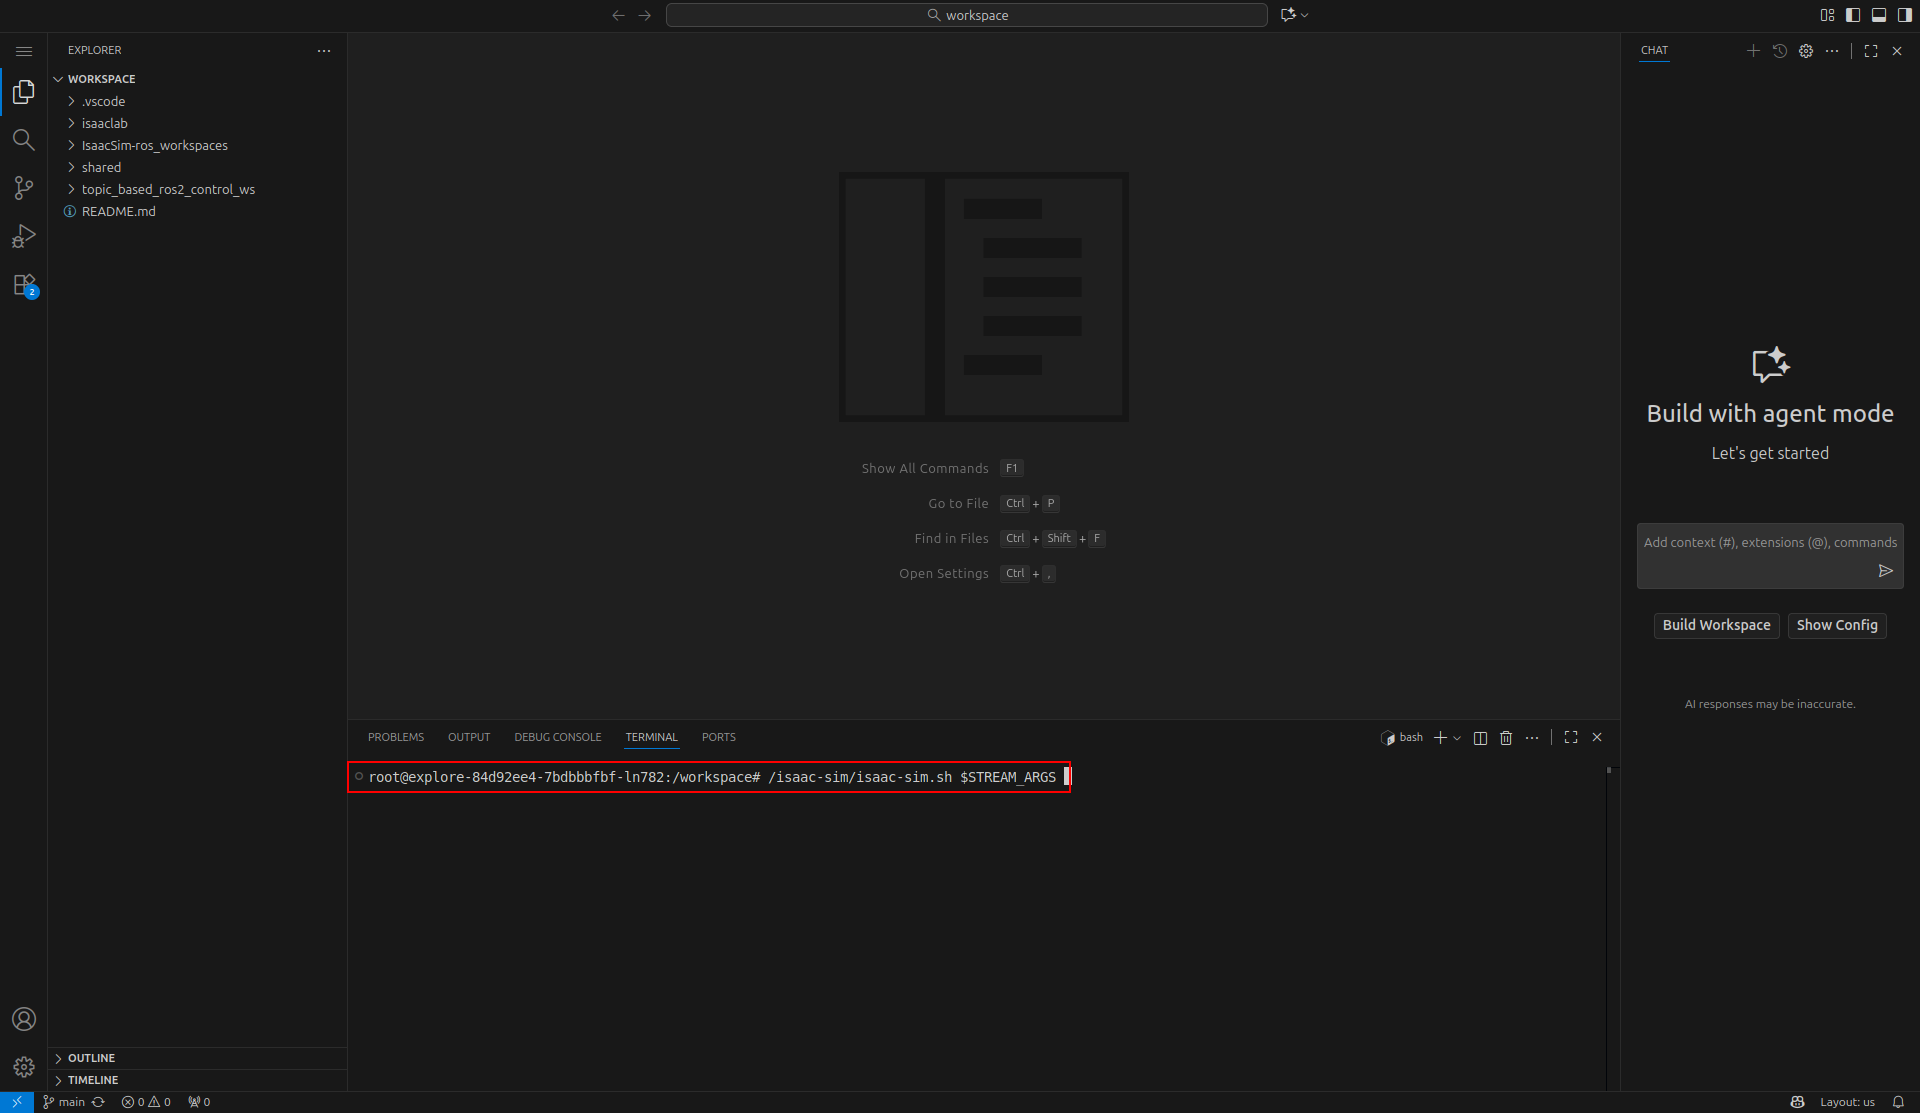
To start Isaac Sim, you first need terminal access to your instance. The easiest way is to launch VS Code in your web browser using the corresponding button on your instance tile in the instance overview.
Once the VS Code tab has opened in your browser, press Ctrl+Shift+C to open a new terminal at the bottom of the window.
In the terminal, enter the following command:
/isaac-sim/isaac-sim.sh $STREAM_ARGS
Once app ready appears in the console, Isaac Sim has successfully started. You must keep the browser tab with Web VS Code open while working with Isaac Sim — closing the tab will terminate the console and all processes started within it.
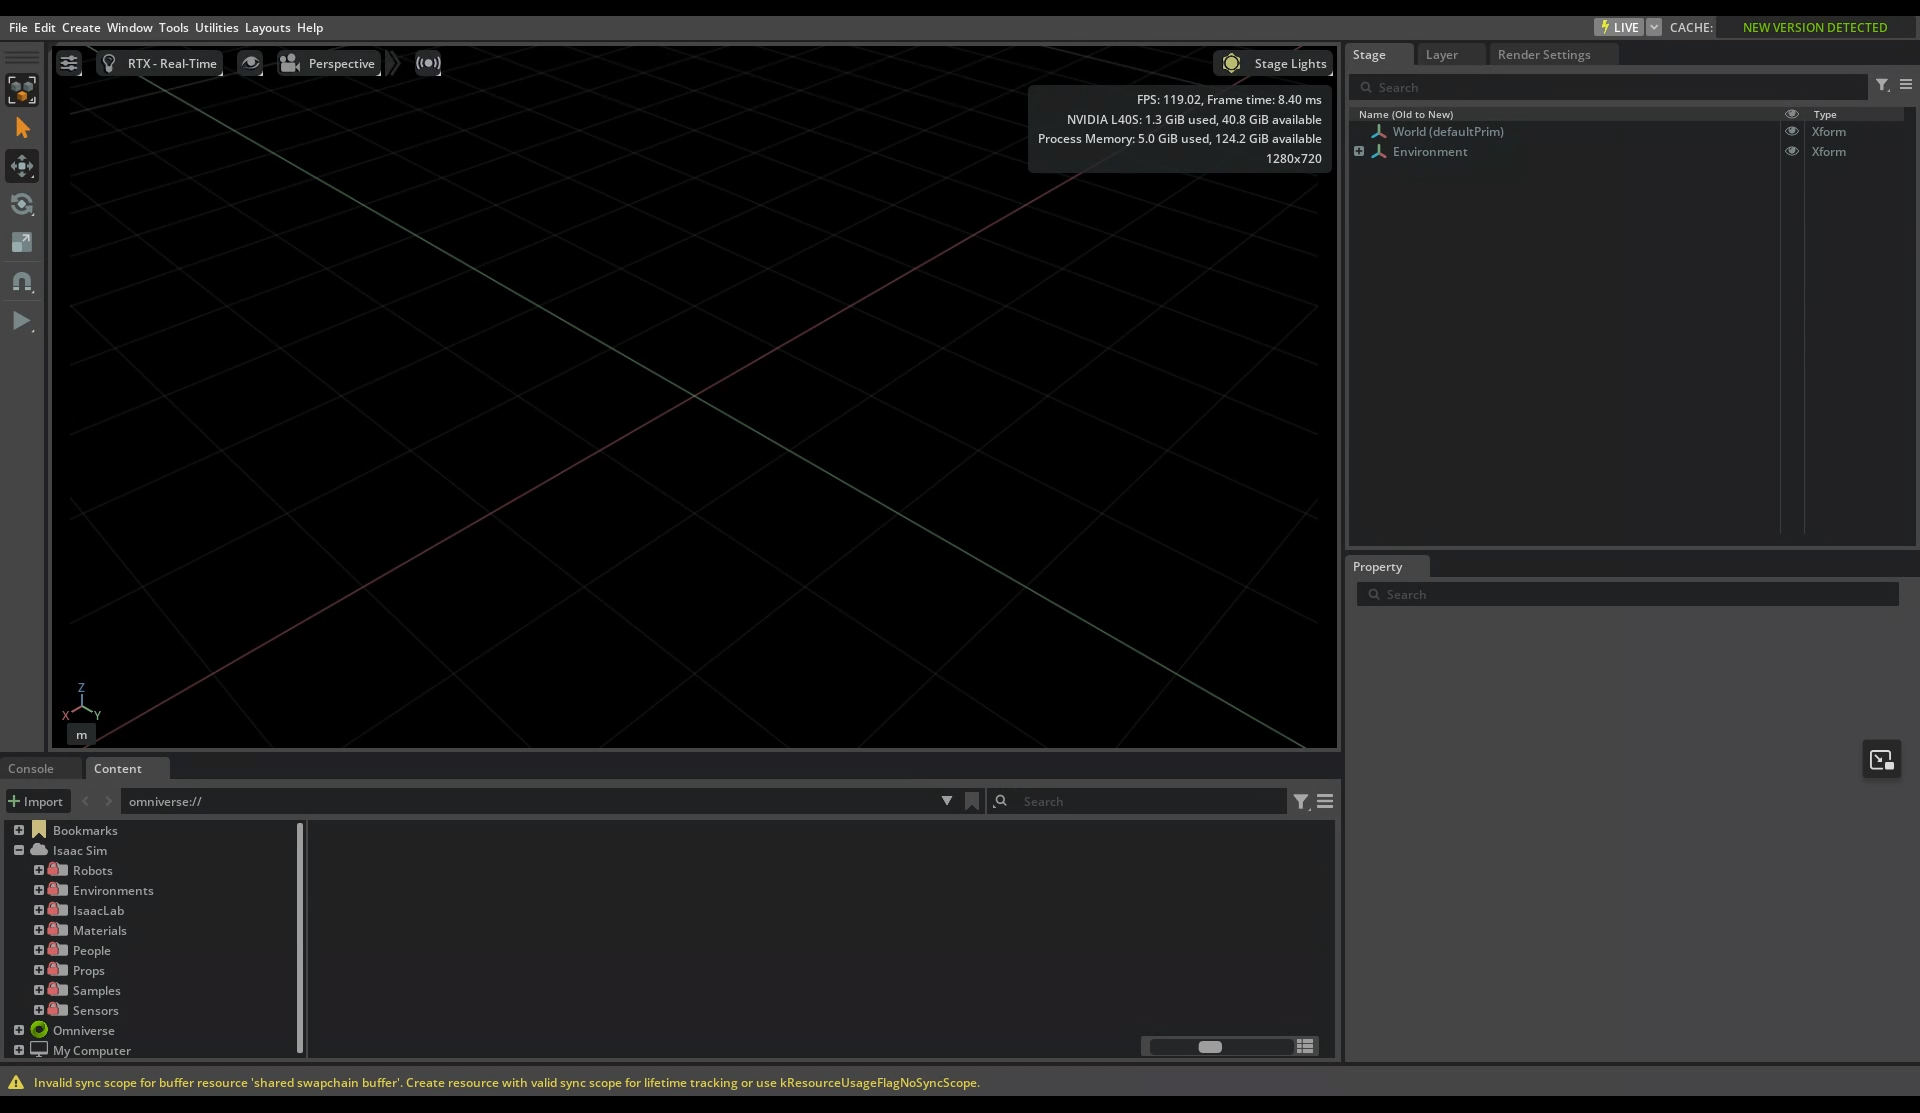
Isaac Sim Viewer
To open the simulation environment, return to the instance overview page and click on Isaac Sim Viewer on your instance tile.
Congratulations! You can now freely work with Isaac Sim and, for example, follow one of the introductory tutorials from the official Isaac Sim documentation.
On the following pages of this documentation, you will find more detailed information about the various aspects of the platform as well as selected application examples.
